
Disclaimer: I am not a medical professional, and I recognize that every person and every pregnancy will vary in their needs and experiences. Please note that the following recommendations are based on my personal experience only. Thanks for reading!

When we learned Hudson was breech and scheduled a C-Section, I was tense (per usual, considering I am diagnosed as needle-phobic!) but totally committed to planning for the process before, during, and after the surgery as best as I could. Friends and Instagram followers who had experienced C-Sections before were incredibly kind and open with their best practices. I found the lack of open conversation to be surprising — considering this surgery is the most common surgery in the United States — but my hope is to be a resource just as others were so generously for me.
Hudson’s C-Section birth was an unexpectedly beautiful, calm experience, and I felt my preparation and trust in my doctor and incredible medical team allowed me and Alex to focus less on the fear and more on a positive road to recovery.
Here are my tips and products that carried me through such a smooth recovery:
WEEK ONE
…Will be a complete whirlwind, but you can do it! For me, day 2 and 3 were the most painful, though it was a complete accelerant from that point forward. I believe so much of recovery is mental. The idea of being home versus in a hospital infinitely helps your outlook. Embrace that comfort!
Walking around the house — even around the block at a slow pace — will do wonders. The toughest battle is the transition from lying down to sitting up to standing up and vice versa, as you cannot use your abdominal muscles. Your arms and your partner will be your crutches. Because of this, I’d find myself walking around more, simply to avoid having to lie back down and crunch my abdomen!
Delegate, delegate, delegate. You cannot and should not bend down ever, or you will regret it! Alex was and is my rock during this process, and our families were incredibly generous with their time and presence during the first three weeks of Hudson’s life, allowing me to rest.
Set an alarm on your phone for medicine doses. During the few times I’d accidentally lose track of time and lapse on my Tylenol, I’d experience soreness and pain that set me back a few steps. It’s so easy to give, give, give to your baby and forget about your own needs during this time. Keep to a schedule, and you’ll be set.
As for what to wear: My doctor showed me how to place a dry, thick pad against your incision, followed by a hospital-provided belly band. The following extra layers will ensure you are as comfortable as possible.
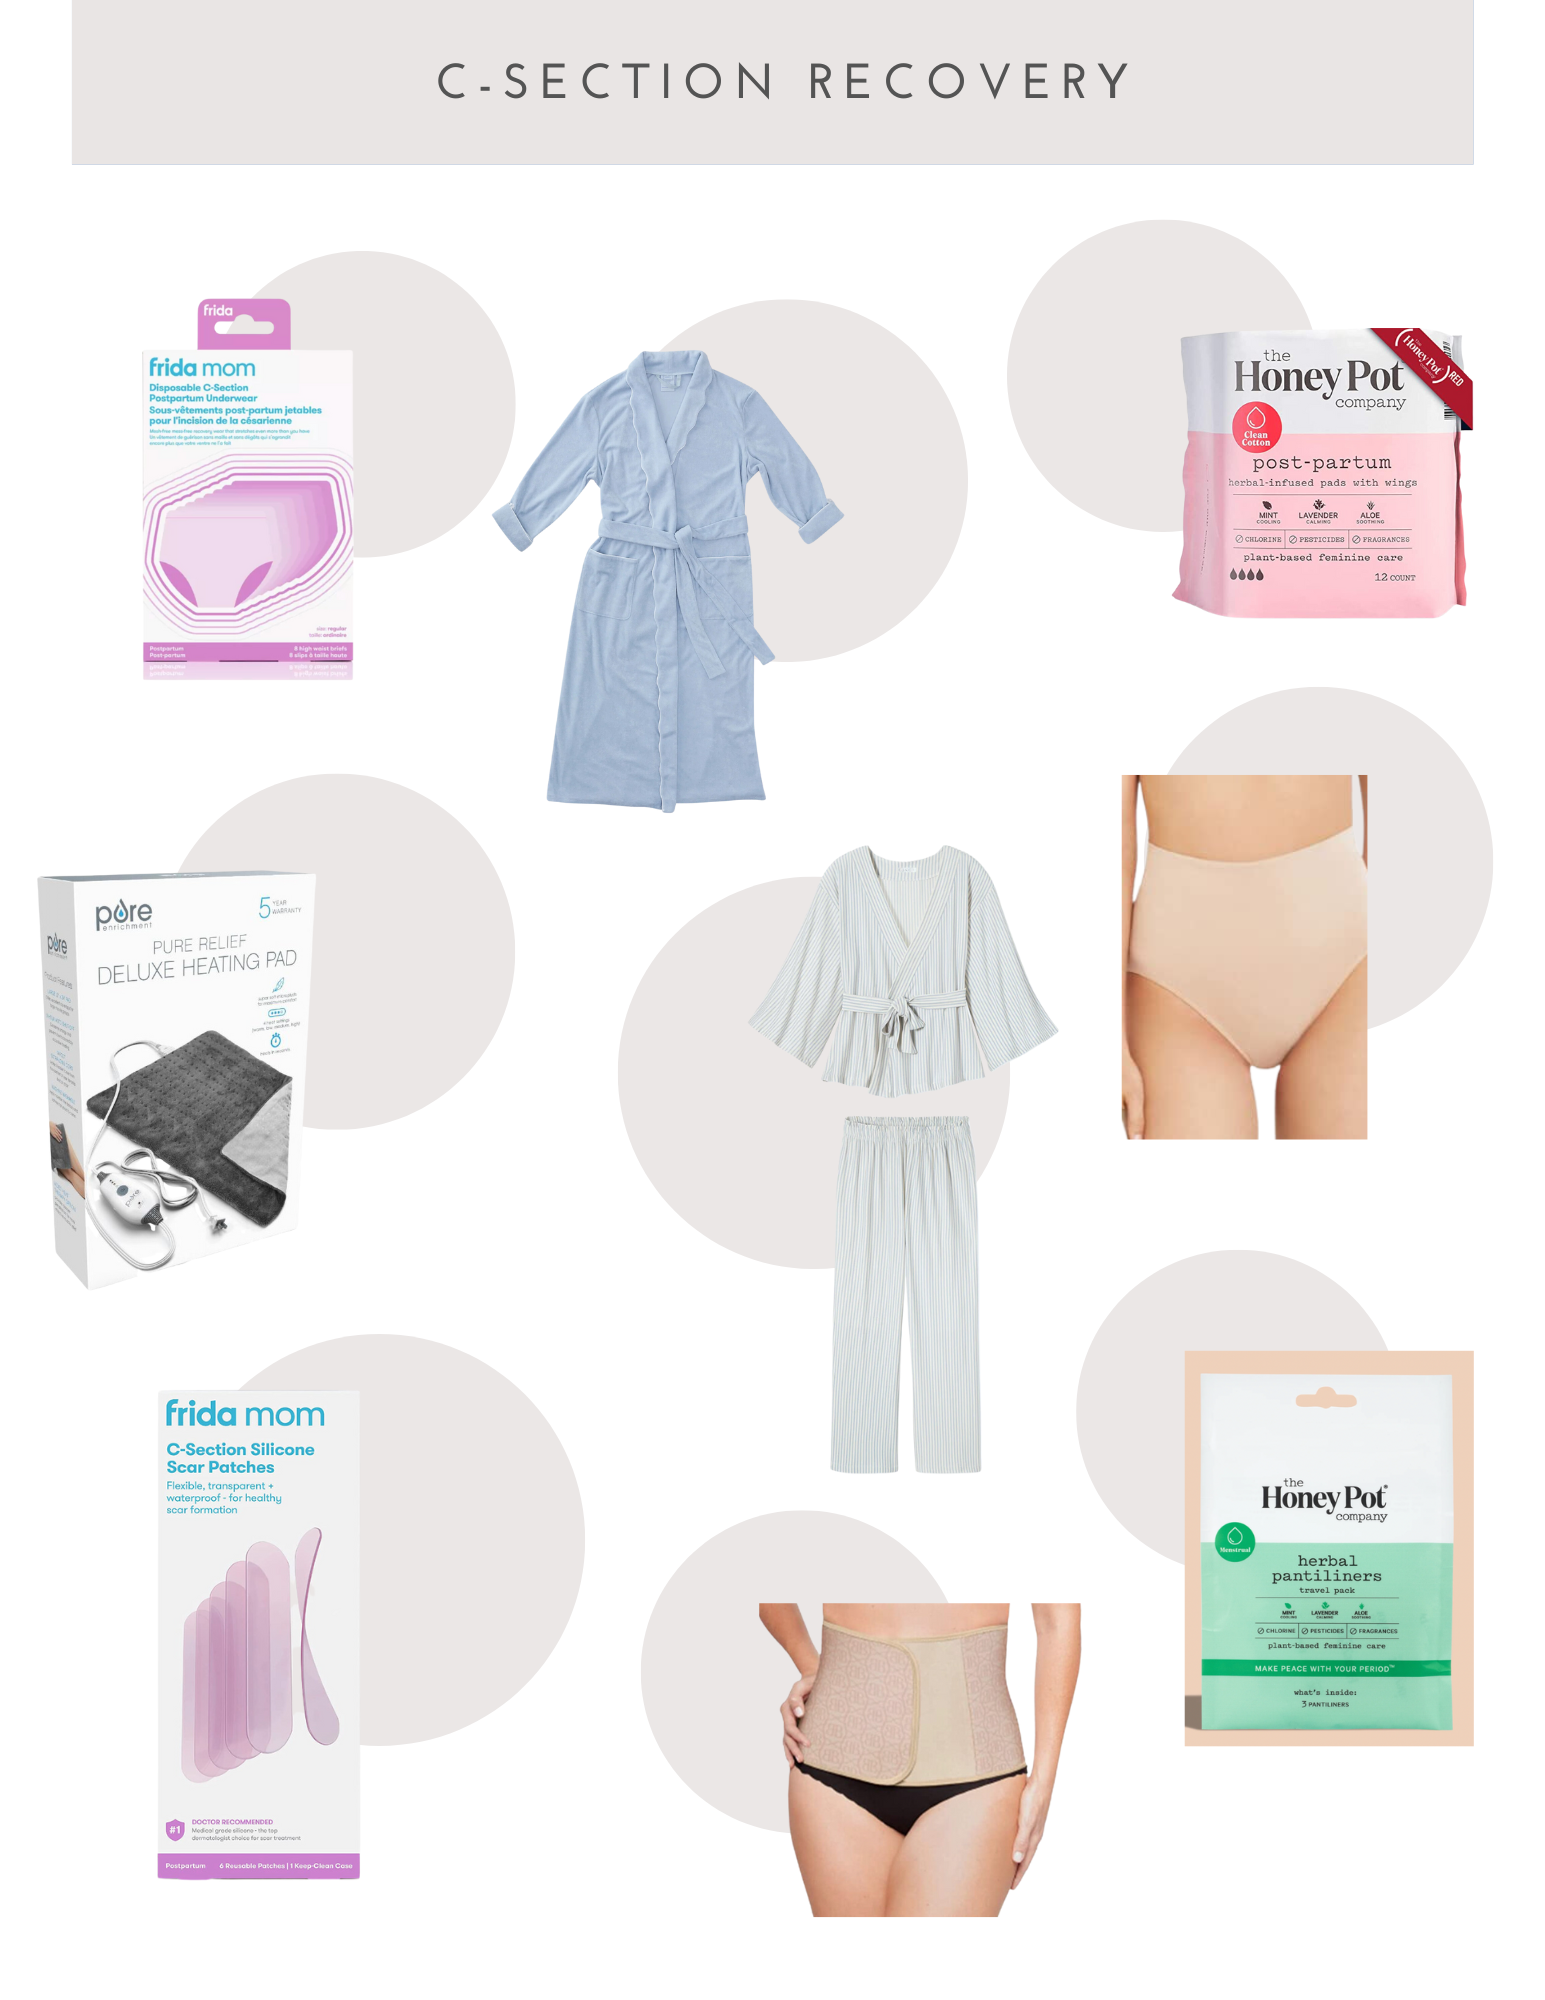
Disposable Frida Underwear: These c-section high waisted briefs are stretchy and comfy, disposable (less laundry, hey!), and lightweight. I purchased two packs and wore them exclusively until I ran out.
Pads: Expect to bleed and subsequently spot for at least one month postpartum. By no means are there side effects to this situation other than annoyance and inconvenience. I loved the cooling sensation of these specifically postpartum pads for the first week of recovery,
Heating Pad: I’d find the soreness not solely around my incision but also in my neck and shoulders and back due to awkward positioning in bed or on the couch/glider. Having a heating pad on hand helps exponentially!
Loose Pajamas: Your belly band will keep you intact, and otherwise focus on loose and flowy finds! I lived in this kimono set, particularly while also navigating nursing Hudson.
SECOND WEEK ONWARD
Panties: We’re moving on up from disposables! These high-waisted, stretch panties are comfortable and very affordable, so stock up. I would wear this pair under my belly band.
Non-Hospital Belly Band: For a mental and physical separation from that week-one surgery stage.
Robe: Every other morning, with the help of Alex and our parents watching Hudson, I would take a warm shower and allow the soapy water to wash over my incision without directly touching it. This would cause some stinging pain and soreness, especially because the incision feels (and is!) so exposed — but it is so important to let it breathe. I’d then pat it dry with a clean towel, put on a robe, and let the incision air dry and rest while lying in bed for 30 minutes. This habit was so helpful.
Panty Liners: As bleeding lessens and lightens, these liners are much more comfortable and less noticeable.
Post-Doc Sign-off (~6 Weeks)
Silicone Scar Patches: This step comes highly recommended! The silicone patch supports scar tissue healing. I’m beginning to wear one this week and will report back.
