Easy Buttermilk (Better) Biscuits

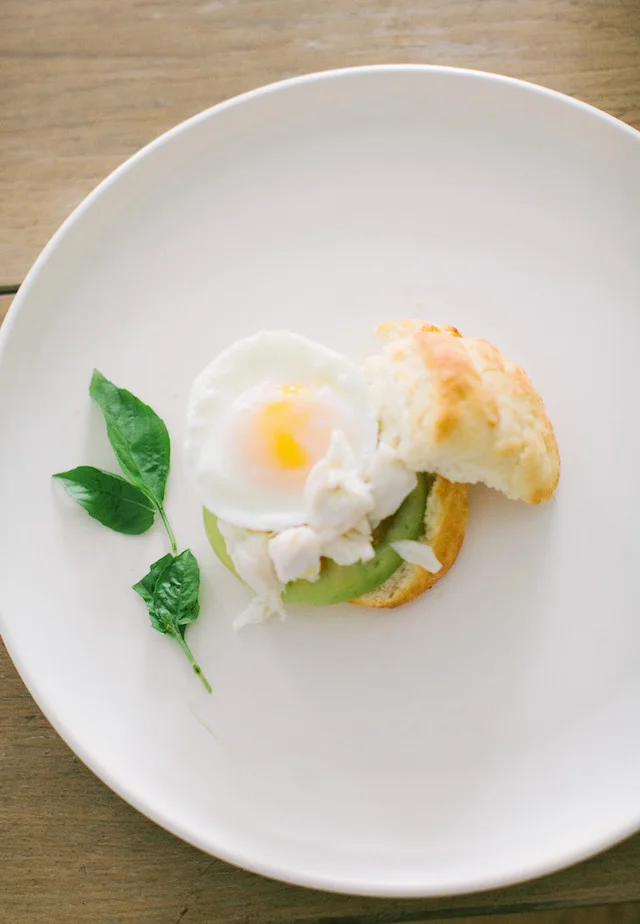
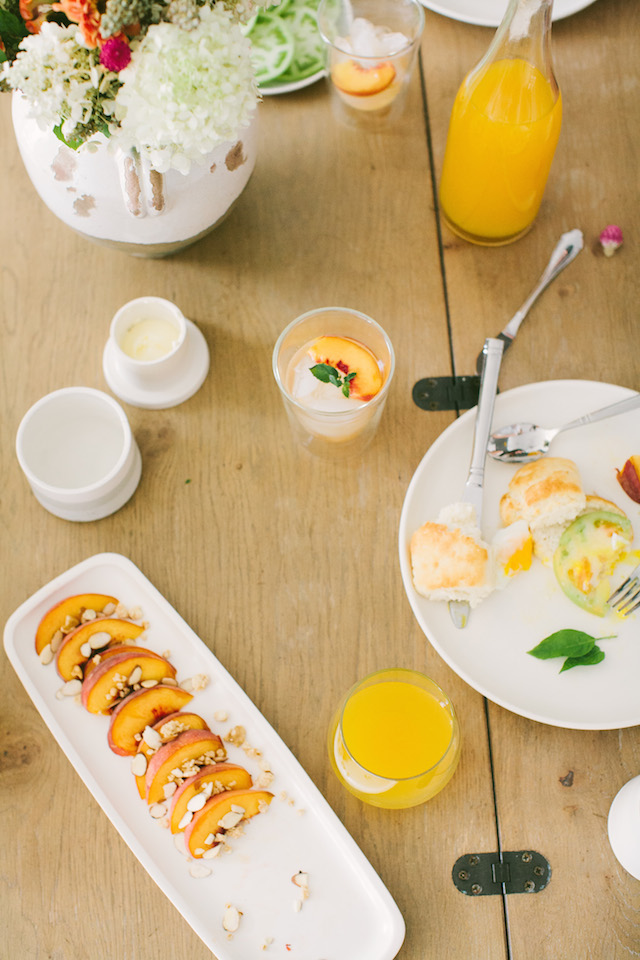
It's pretty hilarious that in my last post, I objected to homemade biscuits for an heirloom tomato benedict recipe. Then, I naturally decided yesterday to whip them up. Perhaps it was the slower, rainy Sunday morning that pushed me toward the baking cabinet? Of all I experienced upon preparing the Southern classic, I was dumbfounded that the entire process--from prep to clean-up--took less than an hour.

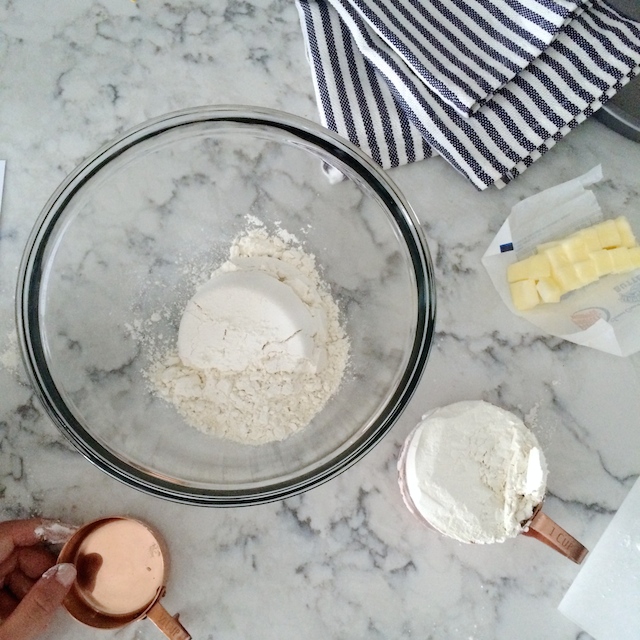
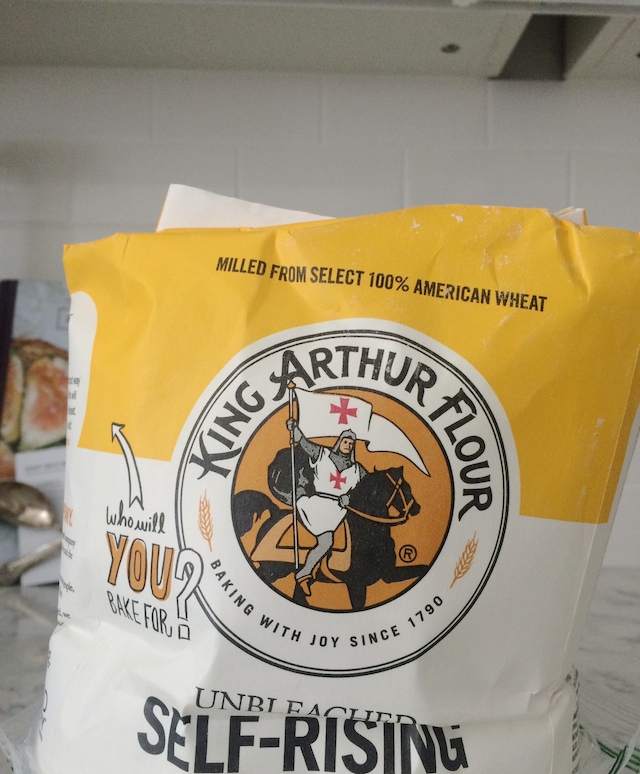
King Arthur Flour's unbleached self-rising flour did the trick. Their line, "our passion is your essential ingredient" resonated authentically and reliably. When asked to join their #betterbiscuits campaign, I immediately accepted with an eagerness to learn tips for beautiful (and simple) self-rising biscuits. Follow these four commandments, and you'll be golden for a breakfast benedict or buttered dessert.

  • BE GENTLE: Avoid overworking the dough after adding the liquid.
  • CHILL OUT: Starting with very cold butter will help create flakier biscuits.
  • USE A BISCUIT CUTTER: The cleaner the cut, the higher your biscuits will rise.
  • FREEZE BEFORE BAKING: Freeze your shaped biscuits for up to 20 minutes before baking to improve texture and rise.

Will you join me in creating a world of #betterbiscuits? I surely hope so.

IMG_8959

UPDATE :: My dear friend Bunny shared a beautiful rendition of her leftover biscuit recipe. I'm dying to try it tomorrow!

The next morning, I split biscuits across (like an English muffin), lightly butter each half, and place a small square of sharp cheddar cheese in the middle. Run a tray of these under the broiler - watching carefully - and toast until biscuit edges are browned and crispy, and the cheese has melted into a lovely puddle. Serve with a tangy red current or tart cherry jam, or your favorite orange marmalade.

My mother, on the other hand, (coming from Columbus Georgia), ate her leftover biscuits crumbled into a coffee cup, soaked with fresh, whole buttermilk, and sprinkled with salt, and pepper.

Makes 12 servings

2 cups King Flour unbleached self-rising flour 1/4 cup cold butter, cut into 1-inch cubes 2/3-3/4 cup cold buttermilk

1. Preheat oven to 425 degrees. Place flour in a bowl. Work in the butter with your hands just until crumbles are the size of large peas.

2. Add buttermilk and stir until the mixture holds together and leaves sides of the bowl, adding more buttermilk if needed.

3. Scoop dough onto a well-floured surface, and fold it over on itself several times. Cut biscuits with a sharp, round 2" cutter, dipping the cutter into flour between cuts to reduce sticking.

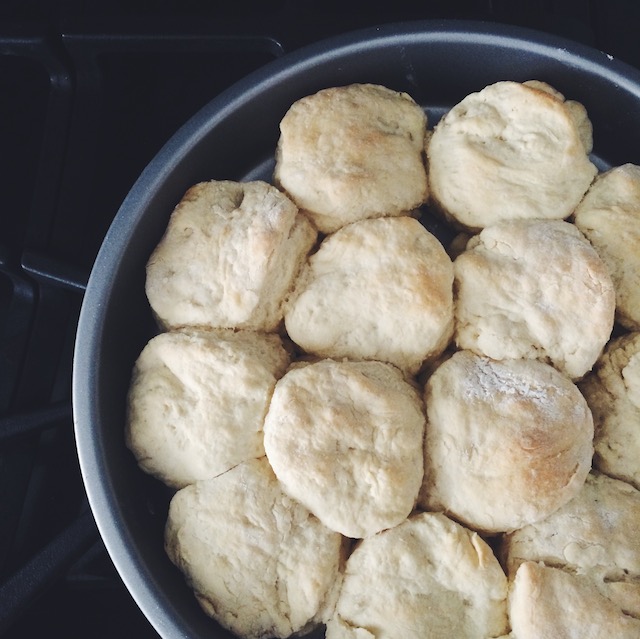
4. Place biscuits 1" apart on an ungreased baking sheet. Arrange biscuits so they're barely touching for soft side biscuits. For higher-rising biscuits, place biscuits in an 8" round pan.

5. Bake for 10-14 minutes until light golden brown. Remove from the oven and serve hot. Cool leftovers completely and wrap airtight. To reheat, tent baking sheet lightly with foil and bake in a preheated 350-degree oven for 10-13 minutes.

IMG_8953

Caramelized Home Tour

Cara-136Cara-24 I'm so excited to share snippets of my new home! Ashleigh Peak captured the light and warmth of the space so beautifully. As you can see, the most captivating feature of the townhome is the two floor-to-ceiling windows on the bottom floor and in the upstairs master bedroom.

The light encapsulates a new energy of the construction and interiors, and I especially love how it bounces off of the white subway tile backsplash, curated and handpicked among many other details by my friend and interior design extraordinaire, Ashley York Binkley of York Binkley Interior Design. Though the drapes and kitchen countertops were the initial (and well worthwhile) custom finishes, Ashley and I are already scheming a priorities list for the upcoming years...A handmade kitchen island? A Caramelized headquarters office upstairs? The furniture currently lacks, but the vision is only growing!

Cara-126

You can follow some of my townhome inspiration on my latest Pinterest board, which identifies a Scandinavian and white-washed rustic-inspired interior that complements the exterior architecture. Enjoy the photos, shop the post's furnishings at the bottom of the photo stream, and see if you can spot some of my favorite Thuyvi Vo creations.

Cara-130 Cara-132 Cara-133

P5vAVJW7Wz-gScpWOgA6YQ8DXyo2TtpuZ_ncxQ4STbU

Cara-95 Cara-139 Cara-142 Cara-143

[show_shopthepost_widget id="950071"]

Oyster Mushroom Arugula Salad with Parmesan

It's tough to remit gratitude through a material gift. I've struggled, especially when attempting to thank others for their time. I now have learned that despite the excitement of opening a box, a thoughtful homemade meal is the ultimate token of appreciation. I served dinner to my parents last night in my new home. Through farmers market ingredients and diligent preparation, I thanked Mom and Dad for their incredible help with the house move and its hectic details. Caribbean sea bass and spiraled squash with a homemade tomato sauce took the main stage. To begin, I prepared this beautiful arugula salad with oyster mushrooms from Dickey Farms. The meaty, woodsy flavor accentuated peppery arugula leaves and sharp parmesan shavings. I think you'll love this one. Use the recipe to thank someone special this week.

IMG_8857

Makes 4 servings

4 cups arugula 1 box oyster mushrooms 1 tablespoon breadcrumbs 1/3 cup olive oil 2 tablespoons balsamic vinegar 1 teaspoon honey 1/4 teaspoon salt Ground black pepper Shaved parmesan

1. Preheat oven to 400 degrees.

2. Toss mushrooms in 2 tablespoons olive on a baking sheet. Sprinkle with bread crumbs.

3. Bake mushrooms until golden, approximately 12 minutes.

4. In a small bowl, whisk remaining olive oil with vinegar, honey, and salt. Divide arugula among four plates. Top with mushrooms and garnish with parmesan and black pepper.

IMG_8854

Memphis' Most Grateful

Processed with VSCOcam with f2 preset

My Sunday routine of coffee & quiet newspaper reading met an unusual and hard-to-believe occurrence this morning. Memphis Most winners were announced in a Commercial Appeal annual special publication. There I was (with martini in hand) next to the bolded phrase: Best Local Blogger/Blog.

Memphis, I've never felt more grateful for such recognition. The early morning alarms to conjure up recipes or write new entertaining tips are absolutely worthwhile. I am motivated more than ever to bring fresh and thoughtful Caramelized content.

Check out the full list of winners here; I am clearly in such great company. (Shout out to winning restaurant friends at Muddy's, Folk's Folly, and The Second Line!)

Processed with VSCOcam with c1 preset

Peaches and Granola

Cara-35 No produce completes a meal more perfectly than late summer peaches. Extra juicy with a punch of tartness, these sweet discs of color are my go-to plated produce for breakfast, brunch, lunch, or dessert. For an added textural component, I sprinkle the fruit with sliced almonds and a mild, sweet granola. Admittedly I do not make my own (though I should), because I'm hooked on Whole Foods' honey vanilla granola in the bulk section.

Despite the low level of difficulty with this minimalistic side dish, your guests will feel like you accomplished a culinary, creative feat upon spooning the peaches on their plates!

Cara-39

Makes 6 servings

2 peaches, pitted and sliced 1 inch thick 1 tablespoon sliced almonds 2 tablespoons granola 1 tablespoon créme fraiche, optional

1. Arrange peach slices on a serving tray. Sprinkle almonds and granola atop peaches. Drizzle with créme fraiche, if desired.

photos by Ashleigh Peak

Cara-91 Cara-107