


Follow baker Ali Rohrbacher's brilliant creation for Valentine's Day -- an enriching loaf with ribbons of dark chocolate and tart cherry. Her steps might appear intimidating, but the visuals should carry you from start to finish with ease.
I opted to make a DIY out of our day, which you can follow along; but be sure to visit The Liquor Store to try Ali's top-notch baked goods, from pies and pop tarts to biscuits and breads. You'll thank me.
Photos captured by Emily Frazier.

Makes 2 9" loaves
Equipment:
Pastry board or silicone pastry mat
Rolling Pin
(2) 9” x 4.5” loaf tins
Whisk
Stand Mixer and paddle attachment (or large mixing bowl and whisk)
Parchment paper and scissors
Offset spatula
Microwave safe (pyrex) volumetric measuring cup
Plastic bowl scraper
Bench knife (or any large sharp knife)
Pastry brush (silicone preferred)
Multiple small-medium mixing bowls
Plastic wrap
Sponge Ingredients:
¾ cup (6 oz) whole milk, warmed
5 tablespoons (2.25 oz) honey
½ cup (2.25 oz) King Arthur bread flour
½ cup (2.25 oz) whole wheat flour
2 large egg whites
2.5 teaspoons (14 g) Instant Yeast
Final dough:
All sponge (already in bowl of mixer- add following ingredients on top in order)
1 3/4 cups + 2 tablespoons (8 oz) all purpose flour
1 1/3 cup (6 oz) King Arthur bread flour
½ teaspoon (6 g) fine salt
1 teaspoon real vanilla extract
¼ cup (2 oz) cold whole milk
3 large egg yolks
¼ cup (2 oz) grapeseed oil (or other neutral oil like canola)
Filling:
3.5 oz semi-sweet 56% cacao baking chocolate
6 tablespoons (3 oz) unsalted butter
6 tablespoons powdered sugar
4 tablespoons 100% unsweetened cocoa powder
Pinch fine salt
Pinch fine espresso powder
Add-ins:
¾ c Dried Tart Cherries (or other red add-ins like fresh raspberries)
Finishing Touches:
1 large egg
1 teaspoon water
½ cup raw Turbinado sugar (or other large crystal finishing sugar)

Sponge Method:
1. Gently warm milk in a microwave safe container. Pour into bowl of stand mixer (or a large bowl if mixing by hand) with honey, and egg whites. Beat with paddle until honey is dissolved, then add in all remaining ingredients and mix to combine on medium-low. The texture you are looking for is along the lines of a sloppy pancake batter.
2. Cover with plastic and ferment the sponge for approximately 1 hour, or until it rises and falls at least once- at this point it is ready to be mixed into the final dough.
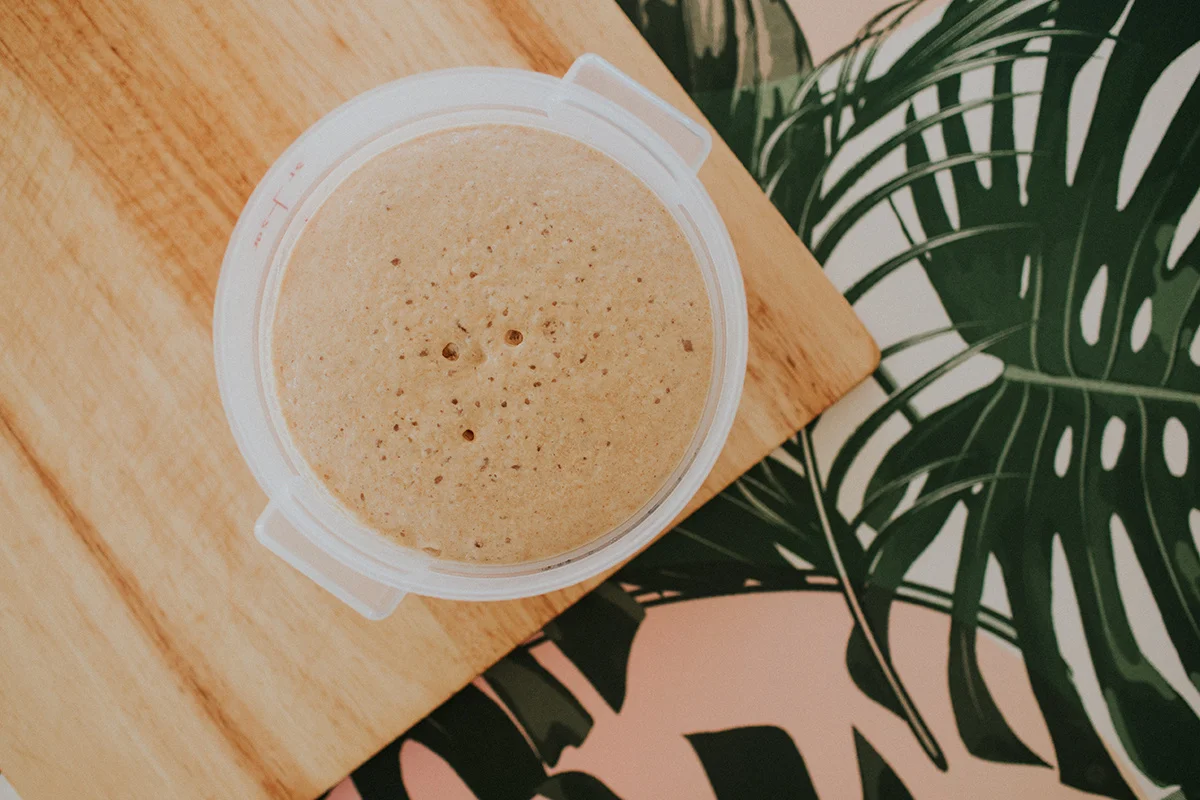
Sponge after rising
Dough Method:
3. Using the dough hook (or a large metal spoon if mixing by hand) on low, mix the dry and wet ingredients into the sponge. When no dry bits of flour remain, turn the speed up to 2 and knead for approximately 4-5 minutes. If the dough seems overly wet before you get to this step, slowly add approximately ¼ of a cup of All Purpose flour or as much as needed so the dough pulls away from the sides and bottom of the bowl. If you are mixing by hand, once the dry bits have been incorporated, dump the bowl out onto a floured pastry board or silicone mat, and adding small bits of flour to your hands to keep them from sticking, knead the dough until it comes together to a nice consistent texture and springs back when pressed with your thumb.

4. Transfer the dough into an oiled bowl and cover with plastic wrap to rest for 10 minutes. Next, dump the dough onto a lightly floured board, and gently press from the center outwards with your hands to create a rough rectangle shape. If needed, you can gently fold the ends out and over (like an envelope) to square off the sides more easily. Place a piece of parchment on top of what will be the underside of the dough, and flip it over onto a sheet tray. Spray with oil and cover with plastic wrap, and set a timer for 40 minutes for the bulk fermentation. Ideally put in a cold place - if you are concerned that your home is too warm, you can always put the dough in the fridge but you should expect to extend the bulk fermentation time by about an hour (or up to overnight).
5. While you wait on the dough to bulk, prep the chocolate spread filling.
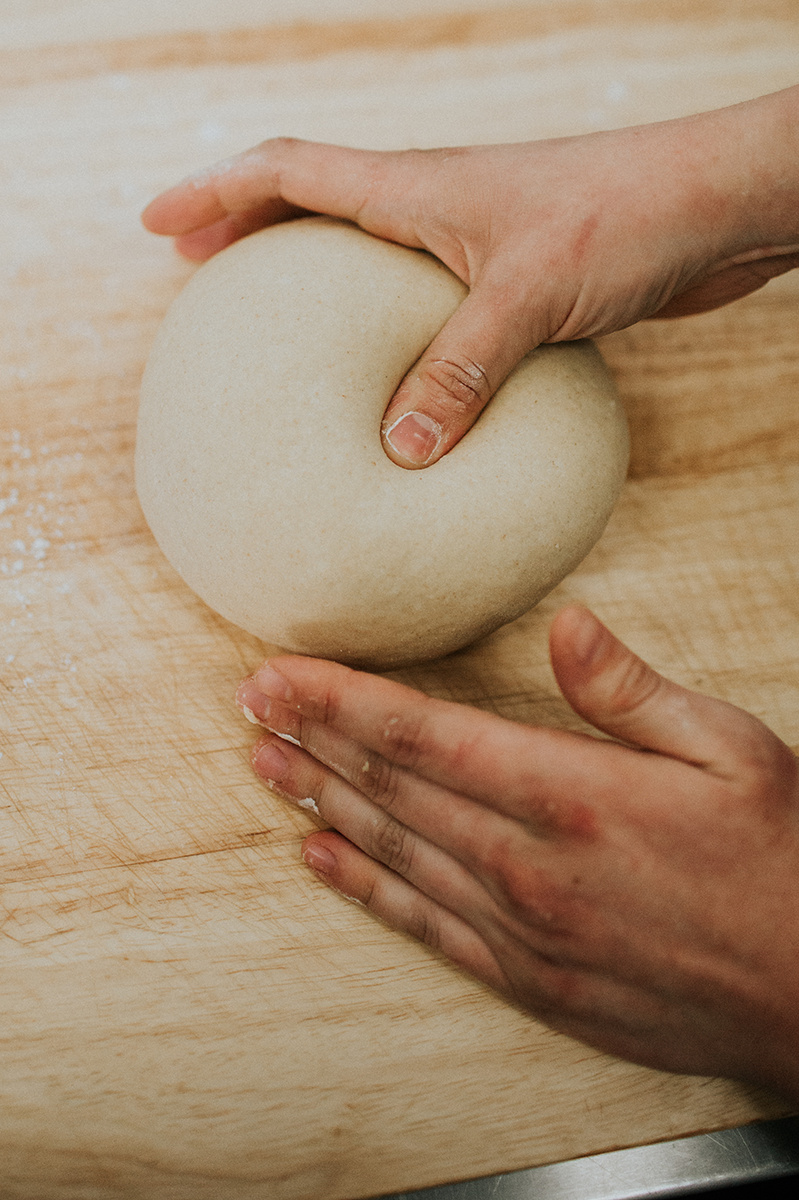

Pre-rise

Post-rise
Filling Method:
6. Using a microwave safe bowl or measuring cup, gently melt the butter and chocolate in a microwave using 10 second intervals, stirring between each interval. Stir until smooth.
7. In a large dry bowl, sift and then scoop and level the tbsp of powdered sugar and dump directly into the cup of melted chocolate. Scoop and level the cocoa powder next, then add in a pinch of salt and espresso powder. Stir together with a fork or small whisk until smooth.
Assembly:
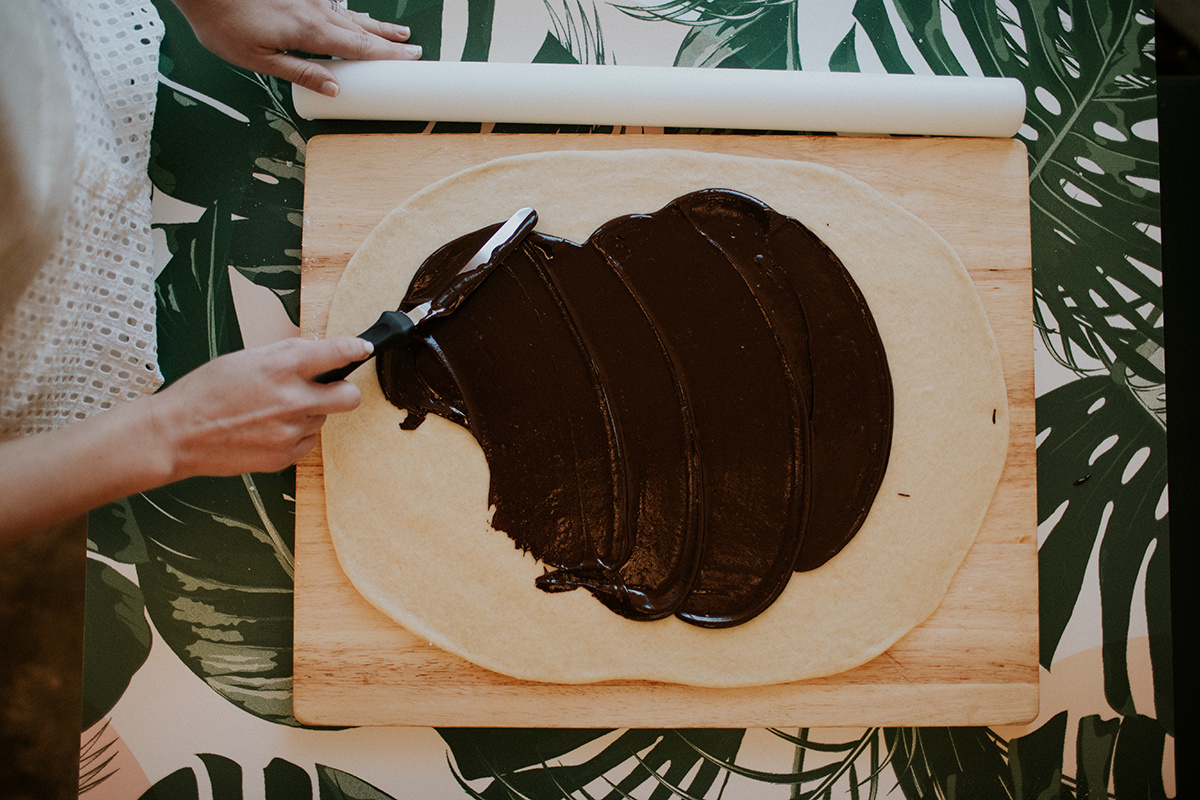
8. Once the dough has risen, turn it out onto a floured pastry board or clean counter space. Using a large heavy rolling pin, roll from the center outwards, clockwise, so that each side corner is rolled outwards with equal pressure. (If you have ever rolled out dough to make cinnamon rolls before, this is a very similar process.)


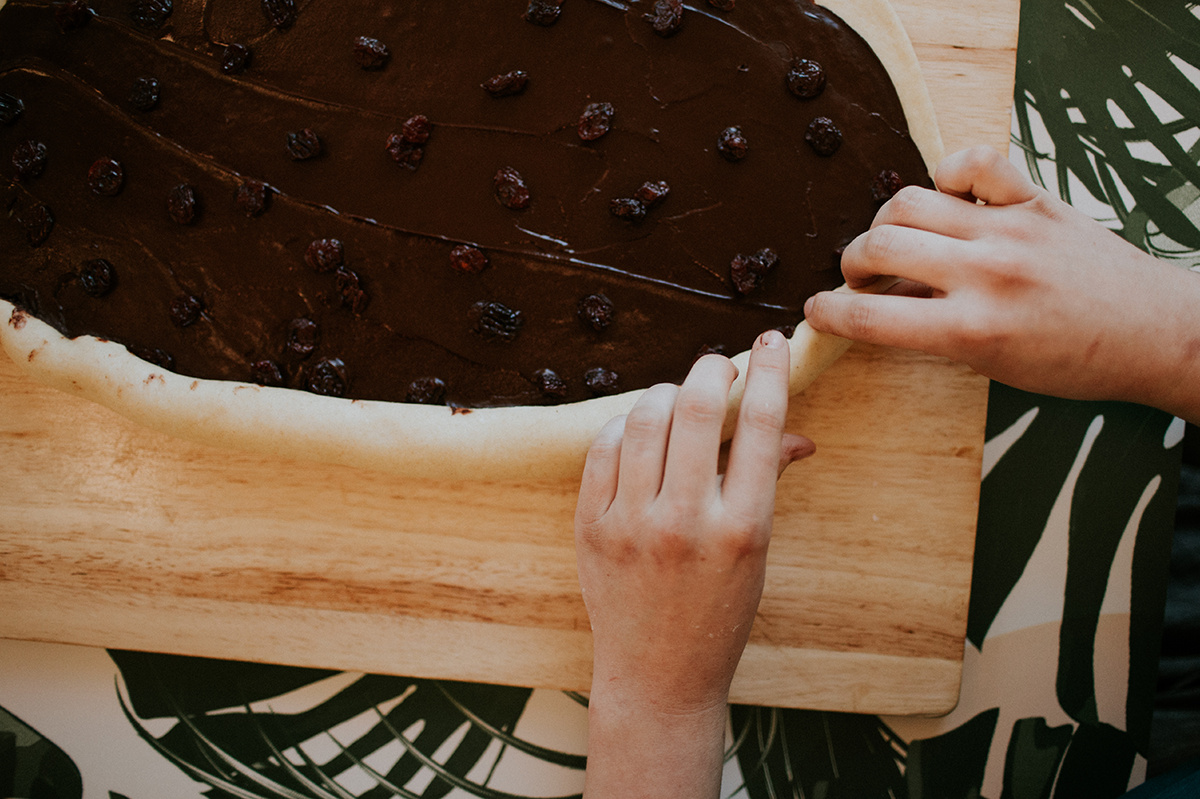
9. Once the dough is extended evenly into a large rectangle, using an offset spatula, spread an even thin layer of filling over the entire piece of dough except for a ½” strip along one of the long sides that needs to remain dry (and will become the roll-seal). Sprinkle dried cherries (or other add-ins like white chocolate chips, or raspberries) over chocolate spread making sure they are evenly distributed.


10. Roll tightly from one long side to the other with the clean strip. Work the dough rolling tightly from right to left and then back again, so that the ends of the rolls are as thick and tight as the center. The goal here is to create a tight and even cylinder of dough (that will slightly taper at the ends). When you are almost finished rolling, use a clean pastry brush or a clean finger to wet the strip of dry dough, and then finish rolling the log, using the weight of the dough to roll over the seal.

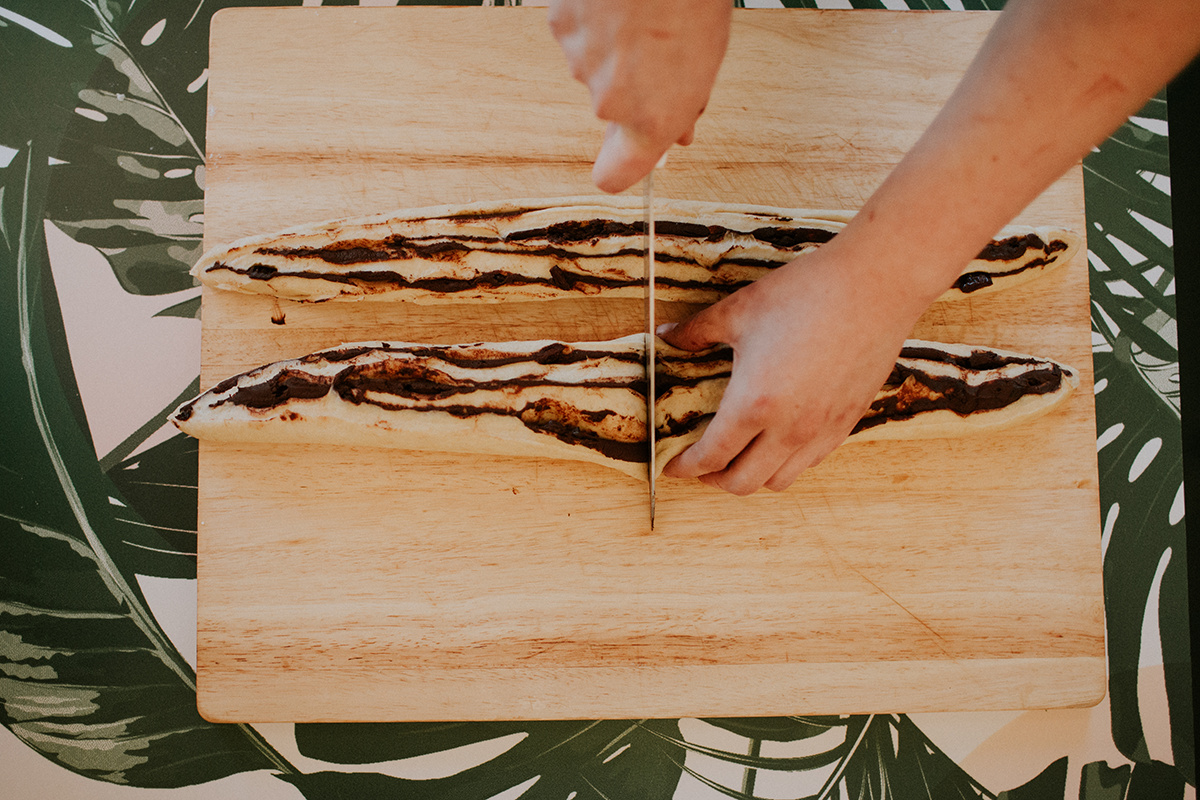
11. Rock the log of dough back and forth a bit to make sure the seal is secure, and then using a bench knife or a clean sharp knife, cut the log down the middle lengthwise, creating two half cylinders. Cut both pieces in half so that you now have 4 shorter half cylinders. Lay one on top of another diagonally, and then twist up the ends on either side. Lay the shaped twist loaf into a loaf pan lined with parchment paper, and repeat the process with the other pieces of dough.


12. Cover tins in plastic wrap and proof at room temperature for approximately 1 hour. About 20 minutes before the proofing time is up, preheat your oven to 350 degrees.
13. Prepare an egg wash with the 1 large egg and 1 teaspoon water. When the time is up on the final proof and your loaves have become puffy, whisk to combine the egg wash, then using a pastry brush, gently paint it onto all of the exposed dough on the loaves. Sprinkle turbinado sugar onto the egg washed loaves and put them into the oven on top of a sheet tray.

14. Set a baking timer for a total of 35 minutes, and rotating the sheet pan half way through (around 15 minutes in). Keep in mind that the times and temperatures needed for home ovens vary by oven type and brand, so you will want to keep an eye on the loaves during the last half of the bake time. Your oven may need more time, or less, so what you want to look for is even golden browning on the dough, where some of the turbinado sugar is almost caramelizing to a light-or-mid-range brown color. If you have an instant read thermometer, the center should test to 180f.
15. When done, pull from the oven and let the tins cool for a minute and then using oven mitts, remove the loaves from the pans by tilting them onto their sides and wiggling the tins. Once out of the pans, turn the loaves so they are right side up and cool completely before serving (or gifting).
