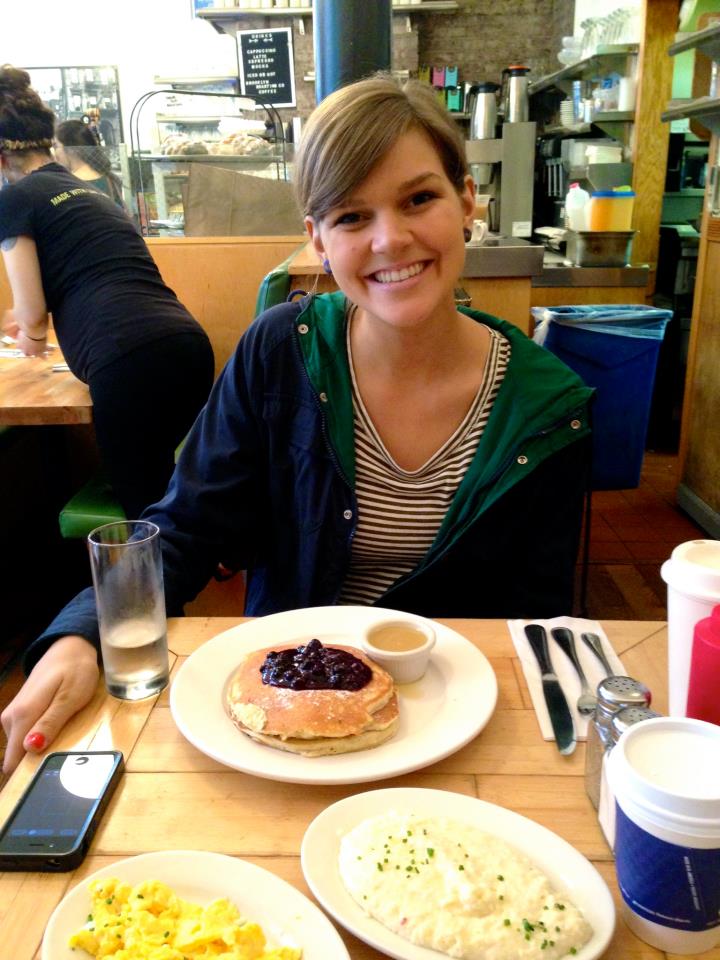
My adorable high school friend, Mary Catherine, and I are very similar. We love to bake. We love to sing (although she's the real deal in the NYC Broadway world). We love New York (except she actually lives there). We constantly Instagram pictures of food. We modeled for a tween magazine together (trying to block that photo shoot from my memory). And did I mention that we simply love good food?
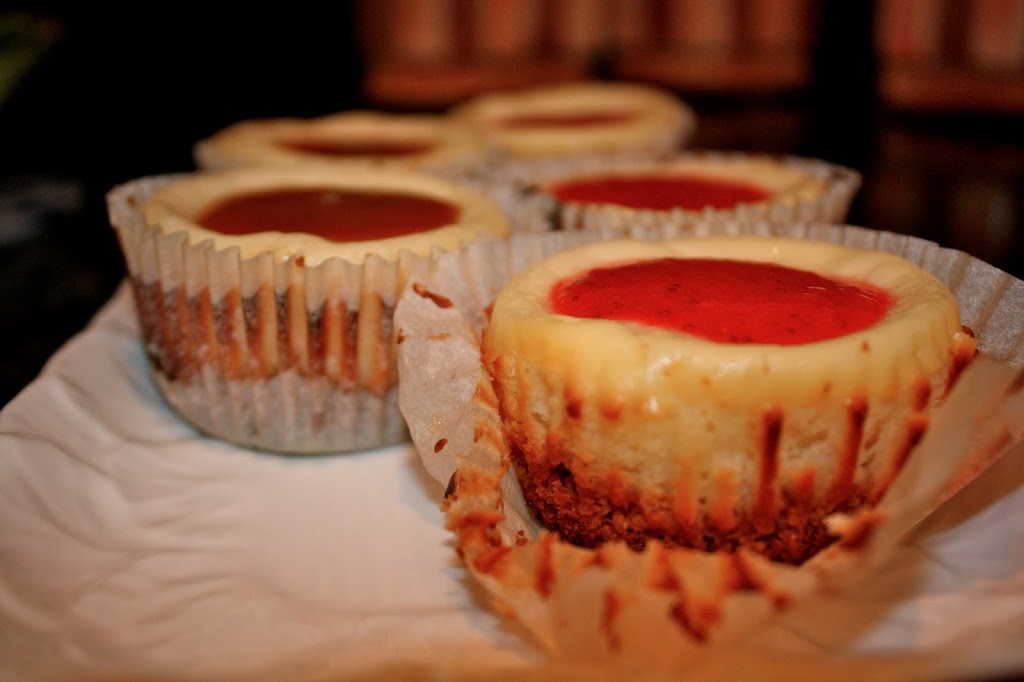
On Wednesday evening, Mary Catherine and I planned a baking night together at her house. Since we were both home for a few days, we figured we'd seize the opportunity to create something fabulous in the kitchen. After debating recipes for weeks, we decided upon ny style cheesecake cupcakes with strawberry and salted caramel toppings. How cute, right?
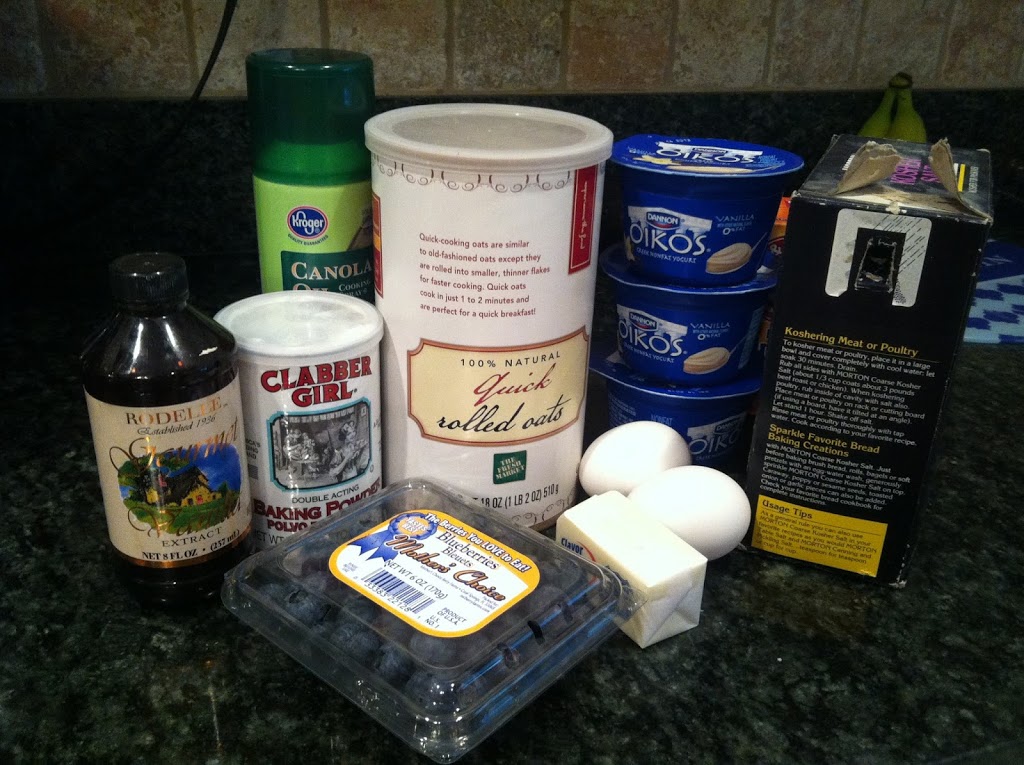
To be honest, I've never baked my own cheesecake before. I had never prepared homemade caramel before. But we were ready. I brought my half of the ingredients over and we baked away!
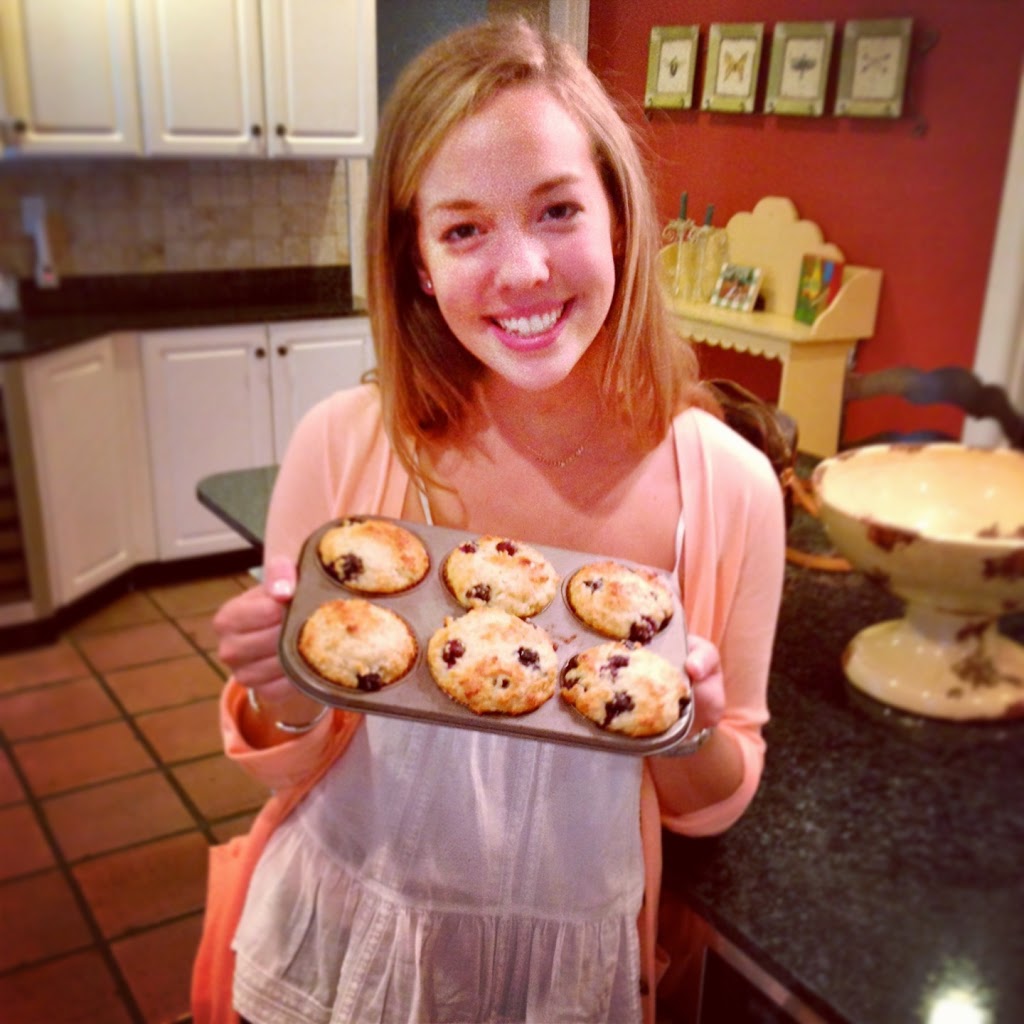
We were too busy baking to even think of taking a picture together...so here we are (close enough?):
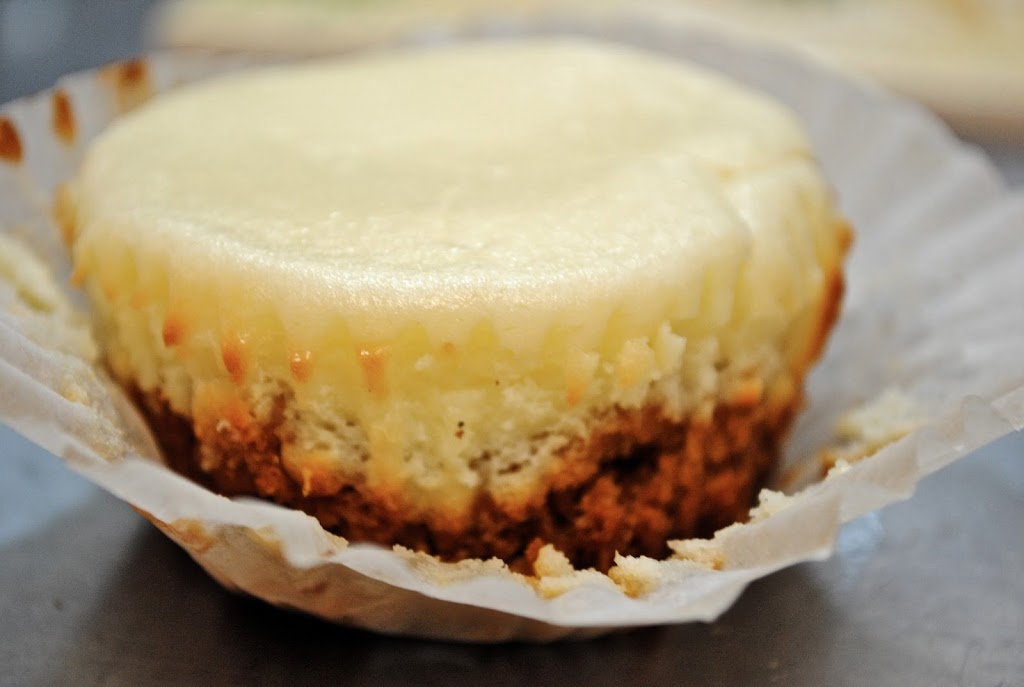
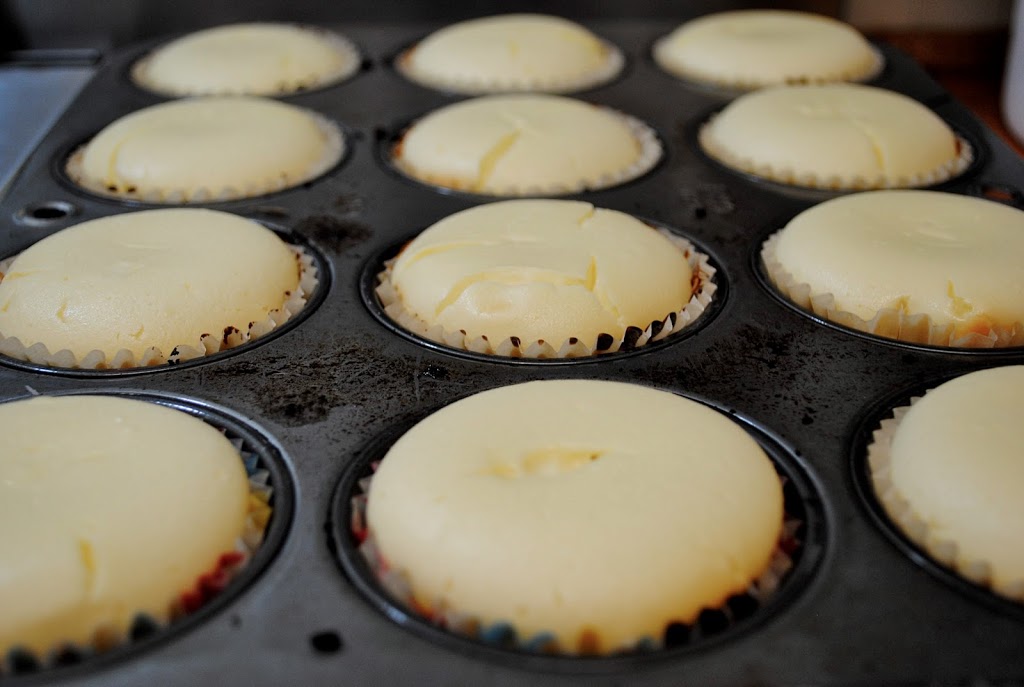
The cheesecake turned out to be absolutely delicious...except for one problem. The crust was burnt.
Bummer.
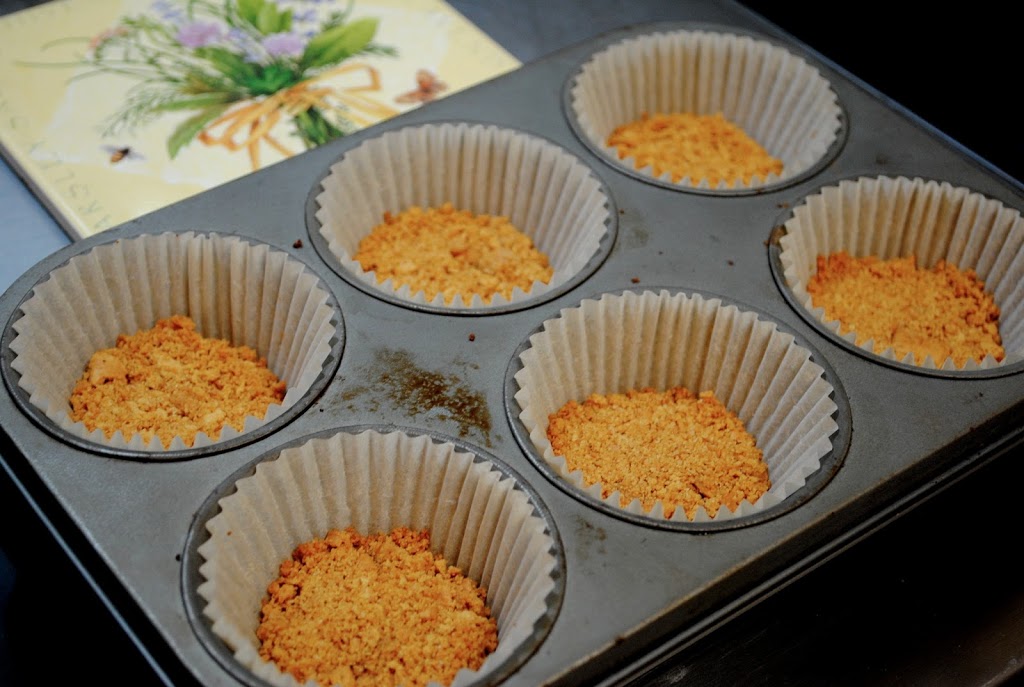
BUT, this was not our fault. Cooking Classy called for "18 sheets of graham crackers" in her original recipe. Sheets? What does that even mean?! We figured that meant 36 squares, but that must have been an incorrect assumption. After mixing and toasting the individual crusts in the oven for 5 minutes, we found that the crust was too crumbly. The consistency just didn't seem right. We had to add more butter and sugar, which resulted in overcooked crusts before the cheesecakes even went in the oven.
MC and I adapted the recipe to be more specific and less mistake-prone. We now call for 24 squares. And we think it'll work for you!
ny style cheesecake cupcakes
makes 24 servings
24 squares finely crushed graham crackers
3 tablespoons granulated sugar
6 tablespoons salted butter, melted
4 (8 oz) packages cream cheese, softened
1 1/2 cups granulated sugar
3 tablespoons all-purpose flour
4 large eggs
2 teaspoons vanilla extract
1/2 cup sour cream
1/2 cup heavy cream
Salted Caramel Sauce or Strawberry Sauce, recipes follow
1. Preheat oven to 350 degrees. In a mixing bowl, whisk together crushed graham crackers with 3 tablespoons granulated sugar. Pour in melted butter and stir mixture until evenly coated.
2. Divide graham cracker mixture among 24 paper lined muffin cups, adding approximately 1 tablespoon to each. Press mixture into an even layer. Bake for 4 minutes. Remove from oven and allow to cool while preparing filling.
3. In a large mixing bowl, whisk together 1 1/2 cups granulated sugar with 3 tablespoons flour until well blended. Add softened cream cheese. Blend mixture on low speed until smooth. Mix in eggs one at a time and blend on low speed, while scraping sides and bottom of bowl and mixing just until combined after each addition. Add vanilla, sour cream and heavy cream and mix just until combined.
4. Tap mixing bowl against counter top to release some of the air bubbles. Divide mixture among muffin cups, filling each cup nearly full (about 1/4 cup measured).
5. Bake in preheated oven 18-20 minutes. Do not overbake. Centers should still jiggle slightly, but they will begin to overbake if they begin to crack. Remove from oven and allow to cool 1 hour. Cover loosely with plastic wrap and transfer to refrigerator and chill 2 hours. Serve chilled with a spoonful of Salted Caramel Sauce or Strawberry Sauce. Store in an airtight container in refrigerator or freeze.
adapted from cooking classy
simply strawberry sauce
1 pound fresh strawberries, rinsed and halved
2 tablespoons granulated sugar
Juice of one lemon
1. Combine all ingredients in a food processor and pulse until well chopped.
2. Transfer to an airtight container and chill for 30 minutes or until ready to serve.
caramel(ized) sauce
1 1 /2 cups granulated sugar
1/4 cup + 2 tablespoons water
6 tablespoons salted butter
1 cup heavy cream
Maldon or coarse sea salt, for sprinkling
*SUPER IMPORTANT: Please lay out all measured ingredients before you begin making the sauce. Things get going pretty quickly and you don't want burnt caramel sauce!
1. In a 2-quart saucepan, heat sugar and water over moderately high heat while whisking constantly to dissolve sugar.
2. Once mixture reaches a boil, stop whisking and allow mixture to boil until it reaches a dark amber color, carefully swirling pan occasionally. This should take 2-3 minutes.
3. Once mixture reaches a dark amber color, immediately add butter and whisk until butter has melted. Then, immediately remove from heat. After 5 seconds, carefully pour in cream and immediately whisk to combine (warning: it will bubble vigorously). Whisk until mixture is smooth.
4. Allow caramel to cool several minutes then pour into a glass jar to cool. I recommend chilling for at least one hour to get the rich, classic consistency.
5. Sprinkle lightly with sea salt after spooning caramel over cheesecakes (or a scoop of vanilla ice cream).
 |
| (during step 2) |
 |
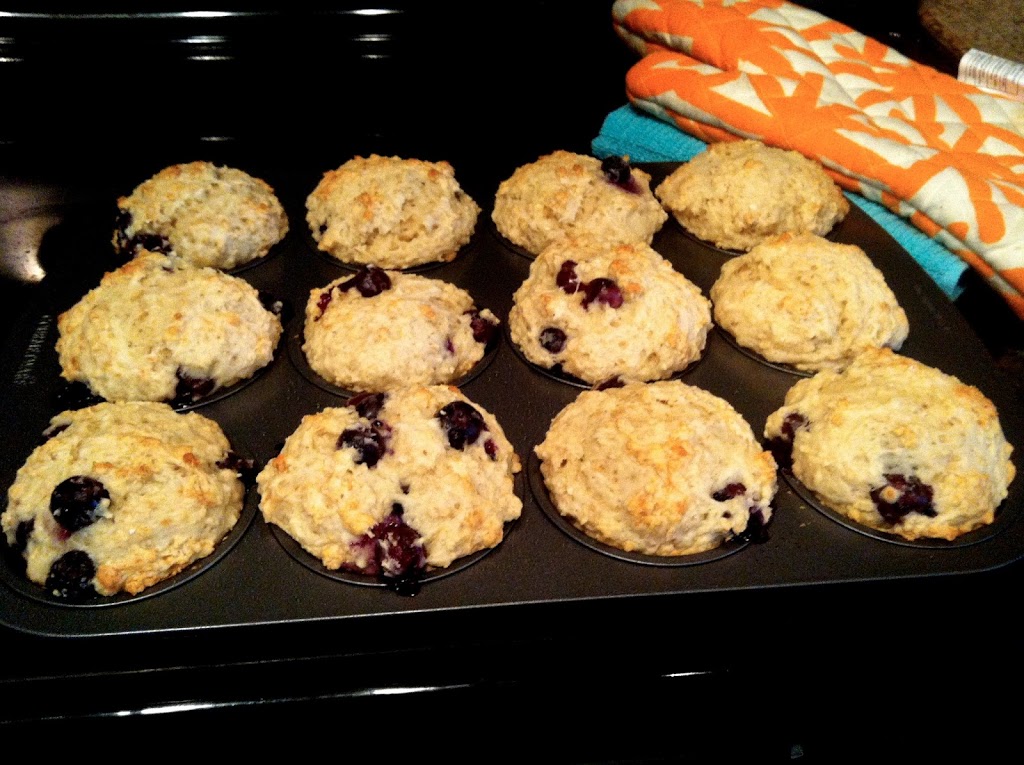
| TA-DA! |